


World's Easiest Tissue Flowers
On yesterday's hutch re-do post, I mentioned that one of the things I did was change the color of the flowers on my curly willow branches. This is super easy and since I already had the yellow tissue paper and the branches, it didn't cost me anything to do!
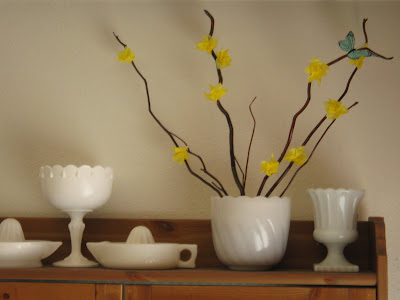 First, you'll need a container of some sort (I used a milk glass planter from the Goodwill), a piece of styrofoam (mine was leftover packing material from something or other) and some sticks. I bought mine from Michael's a while back using a coupon and then just cut them to the length I wanted. You could scavenge them from your yard even, if you had access to good sticks. I've seen them spray painted white too and that looks really nice as well. I left mine as is for the color contrast. Finally, you'll need some colored tissue paper.
 Cut a bunch of squares. They don't have to be perfect, but the flowers do look better if they're closer to squares than rectangles. You'll need two per flower.
 Lay one square on top of the other at an angle.
 Put your finger in the center...
 then pull the tissue up around your finger.
 Twist the base to hold it together.
 Fluff the tissue while holding the base so it doesn't unravel.
 Take a little piece of scotch tape (I tore mine in half lengthwise to make it narrower), wrap it once around the flower's base, then use the rest to stick the flower to your branch. Simply repeat for the rest of the flowers until you're done!
Labels: how-to
Miss M told you so @ 2:29 PM
![]()


2 Comments:
so cute! you're a genius
what a cute project. i love the yellow ones on your hutch, especially playing off the bowl of lemons. and the butterfly is a nice touch!
Post a Comment
Subscribe to Post Comments [Atom]
<< Home