


Pillowcase Apron, Part Three
Yay! Last part. This one will be longer.
 Take the five inch wide strip of fabric that you did NOT fold, and find the center. Line up the center of that strip with the center of your apron body and pin right sides together. Pin all the way across.
 Stitch together with 1/4 inch seam allowance.
 Next take one of the strips that you folded, and fold down one edge to make a right angle.
 Cut across that so that your apron tie ends in a nice, tapered end.
 Stitch closed with a 1/4 inch seam allowance. Do not sew closed the end that is still square!!! This is very important!
 Snip the angled edges and turn it inside out. Repeat with the remaining folded strip of fabric and press both of them flat. You could topstitch them at this point, but I was lazy so I skipped that step and mine turned out fine.
 As long as you have the iron out, unfold the strip that you sewed to the body of the apron and press the seam toward the strip. I flipped it over after this and pressed it from the front as well, just to get it nice and flat.
 Cut the ends off that strip so that they only stick out about an inch beyond the body of the apron. Fold them in and press into place. See my crease?
 Now measure down 1/4 inch from the top of your waistband, fold over, and press into place.
 Fold the waistband over toward the wrong side of the apron just to the point where it barely covers the seam you just made there. Pin in place.
 When you get to the end, fold in the one inch overhang so it's neatly tucked inside the waistband.
 Tuck one of your ties in there about 2 inches so it's really secure, then pin into place. Repeat for the other side. Be sure when you add the second tie that you have the same part of the angle facing upwards at the ends!
 Press the top edge of the waistband.

 Take the five inch wide strip of fabric that you did NOT fold, and find the center. Line up the center of that strip with the center of your apron body and pin right sides together. Pin all the way across.
 Stitch together with 1/4 inch seam allowance.
  Next take one of the strips that you folded, and fold down one edge to make a right angle.
 Cut across that so that your apron tie ends in a nice, tapered end.
 Stitch closed with a 1/4 inch seam allowance. Do not sew closed the end that is still square!!! This is very important!
  Snip the angled edges and turn it inside out. Repeat with the remaining folded strip of fabric and press both of them flat. You could topstitch them at this point, but I was lazy so I skipped that step and mine turned out fine.
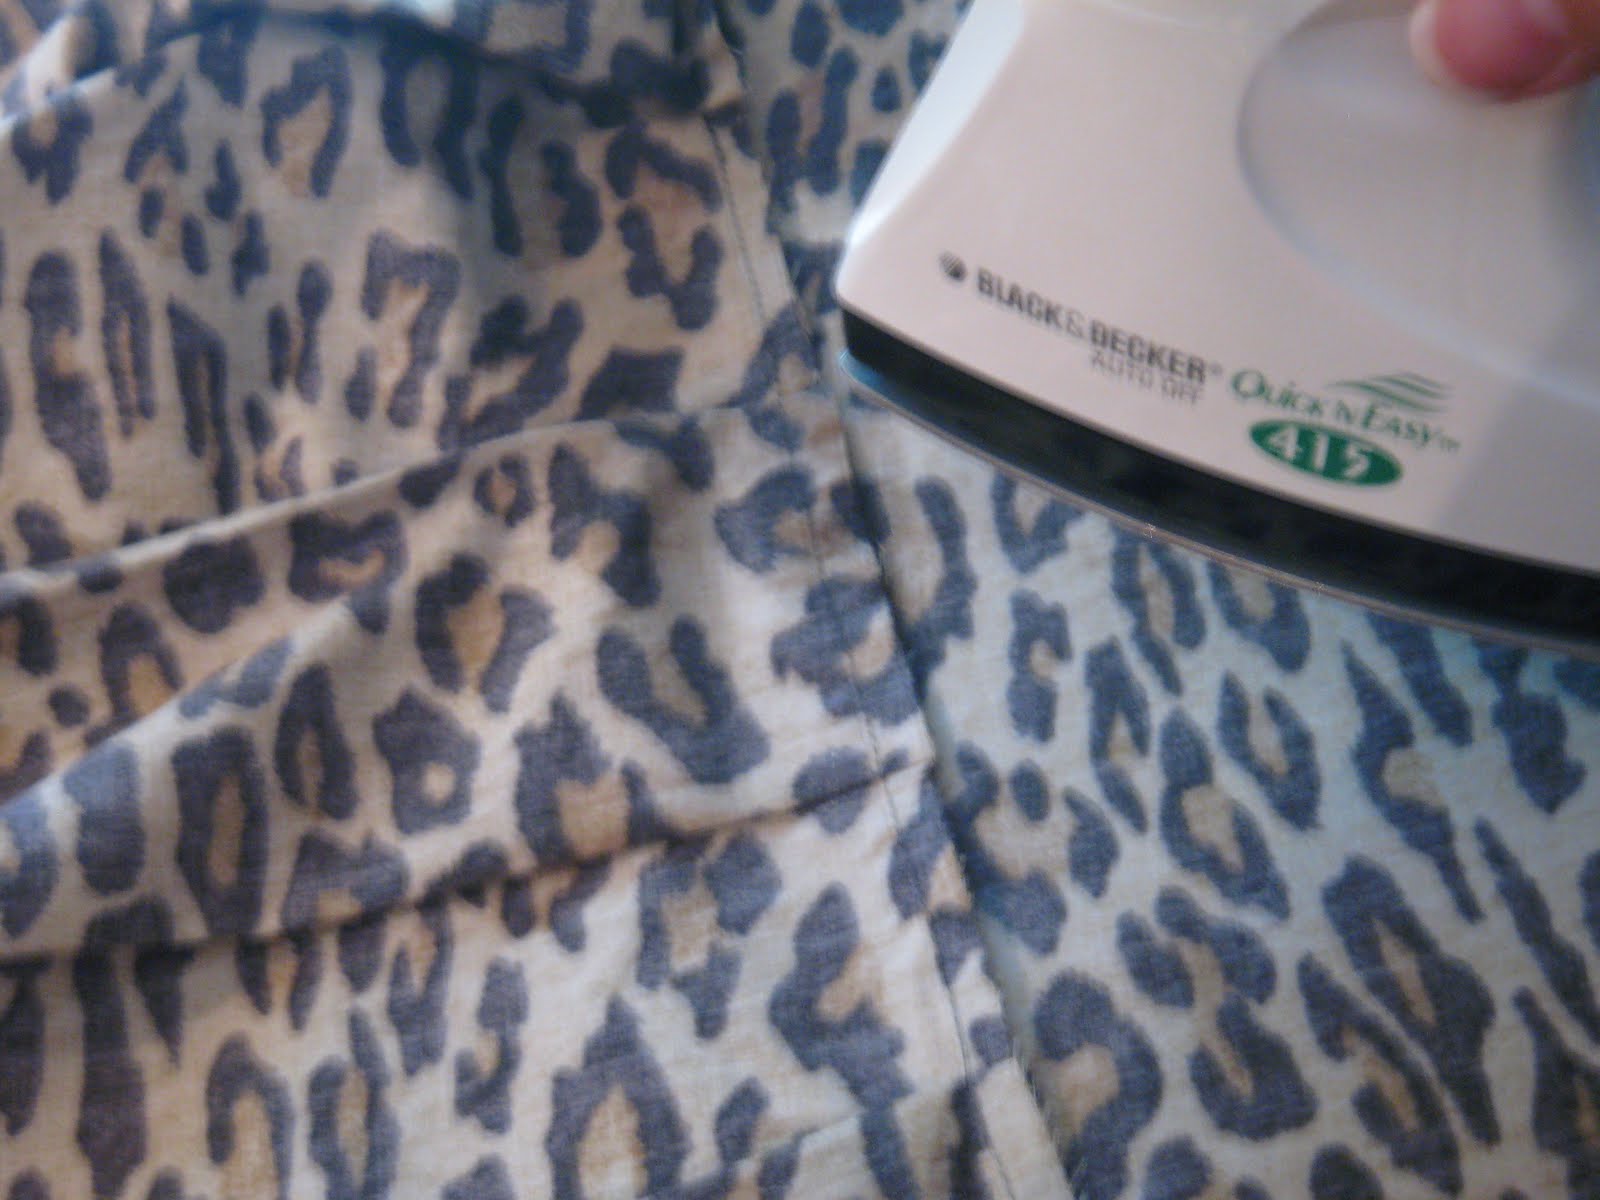 As long as you have the iron out, unfold the strip that you sewed to the body of the apron and press the seam toward the strip. I flipped it over after this and pressed it from the front as well, just to get it nice and flat.
 Cut the ends off that strip so that they only stick out about an inch beyond the body of the apron. Fold them in and press into place. See my crease?
 Now measure down 1/4 inch from the top of your waistband, fold over, and press into place.
 Fold the waistband over toward the wrong side of the apron just to the point where it barely covers the seam you just made there. Pin in place.
 When you get to the end, fold in the one inch overhang so it's neatly tucked inside the waistband.
  Tuck one of your ties in there about 2 inches so it's really secure, then pin into place. Repeat for the other side. Be sure when you add the second tie that you have the same part of the angle facing upwards at the ends!
 Press the top edge of the waistband.
After this I sort of forgot to take pictures! Sorry! But you're almost done. First, sew across the bottom of that waistband, where you pinned it. When you're taking out the pins, be sure to leave the ones on the ends that hold in your ties. If you take them out, the tie will slide out from the waistband and be really hard to get back into place.
Ask me how I know.
After you are done with the waistband, sew the side seams of the body. You will sew from the bottom of the body to the top of the waistband. This will secure the ties. I actually backstitched over the waistband part a couple of times to be sure my ties were very secure.
Go back, remove all pins, snip all loose threads, and ta da!

You have an apron. I added the buttons to the waistband but I don't think I like them so I'm taking them off. If you are very tall, you may want to cut your five inch strips out of a coordinating fabric so that you will be left with more length in the body of the apron. I think with the next one of these that I do I will experiment with the pleat number and width. If you like, you could always just gather the fabric before sewing it to the waistband, but I like the neatness of pleats. Also, pleats are flat and therefore easier to sew than gathers.
If you do make one of these, let me know! I'd love to see a photo. I know I'll be keeping an eye out for vintage pillowcases in cute fabrics when I'm out and about from now on, that's for sure.
Miss M told you so @ 1:20 AM
![]()


3 Comments:
I haven't commented on this how-to only because it seems to be beyond my creative abilities. (I don't even know how to thread my sewing machine.) But the apron turned out so well! Very impressed with you. Nice job! And I love that you repurposed an old pillowcase to make it.
I'm with Samara! I have a new machine but don't know hot to thread it. I love the apron!
Time to bust out the owners manuals for your machines ladies!
Post a Comment
Subscribe to Post Comments [Atom]
<< Home