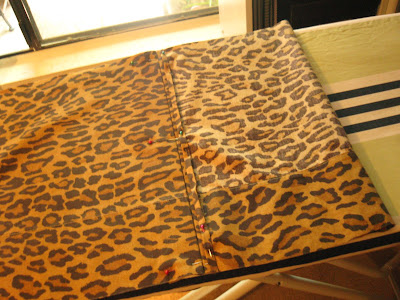
Alright! So far, we have three five inch wide, long strips of fabric, two of which have been folded in half lengthwise and pressed flat, and one larger rectangle of fabric. That larger rectangle is going to be the main part of your apron. The wide hem (the part that used to be the opening of the pillowcase) will be the bottom hem of your apron.

Take the left edge of your fabric, and fold it under 1/2 inch. Press in place.

Now fold it in again, only 1/4 inch this time. Press that in place too. I put a couple of pins in there just to be sure they stayed where I wanted them.

Now you need to find the center of your fabric. As you can see, because my pillowcase was so old, the fabric had actually faded on the fold. This made it pretty easy to find the center of the fabric. (It's the lighter of the two lines)

Measure 1 1/2 inches from the center, and fold the fabric over. Measure at the other end too to be sure it's even all the way across. Use the wide bottom hem to help you be sure it's straight.

Press in place.

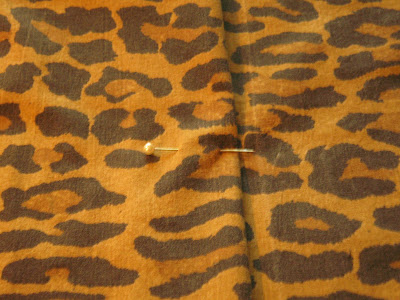
Now, measure 1 1/2 inches from the fold, and then fold back the fabric at that point and pin in place. You're looking to make another crease top to bottom, so do this at the top, the bottom,

and at the center.

Be sure to pin with the head away from the fold. After you've done all three points, press the crease into place.

Now do this all over again in the other direction from the center mark, making sure that your fold lines up with the first one you made. Press in place.
Congratulations - you just made a pleat!

Take the edge of the fabric, and fold it over so that the edge lines up with the center of your pleat (which is also the center of your fabric). Press in place, then open up again. This is your new center line from which you'll build your second pleat. Repeat again with the other side of the fabric until you have three pleats.
After all of your pleats are folded and pinned into place, press them well. Flip the fabric over and press from the back too.
Tomorrow - putting it all together!
Labels: how-to, sewing
 Take the left edge of your fabric, and fold it under 1/2 inch. Press in place.
 Now fold it in again, only 1/4 inch this time. Press that in place too. I put a couple of pins in there just to be sure they stayed where I wanted them.
 Now you need to find the center of your fabric. As you can see, because my pillowcase was so old, the fabric had actually faded on the fold. This made it pretty easy to find the center of the fabric. (It's the lighter of the two lines)
 Measure 1 1/2 inches from the center, and fold the fabric over. Measure at the other end too to be sure it's even all the way across. Use the wide bottom hem to help you be sure it's straight.
 Press in place.
 Now, measure 1 1/2 inches from the fold, and then fold back the fabric at that point and pin in place. You're looking to make another crease top to bottom, so do this at the top, the bottom,
 Be sure to pin with the head away from the fold. After you've done all three points, press the crease into place.
 Now do this all over again in the other direction from the center mark, making sure that your fold lines up with the first one you made. Press in place.
  Take the edge of the fabric, and fold it over so that the edge lines up with the center of your pleat (which is also the center of your fabric). Press in place, then open up again. This is your new center line from which you'll build your second pleat. Repeat again with the other side of the fabric until you have three pleats.


0 Comments:
Post a Comment
Subscribe to Post Comments [Atom]
<< Home