3" x 3" Mini Book - Version two
 The first thing I did was lay out my pages in Photoshop. I resized the photos (which I gleaned from my blog), added text, and embellished with a pretty digital brush I found for free online. I put each individual page onto one document and printed them all out at the same time.


 Now, you are going to take your first two folded pages...
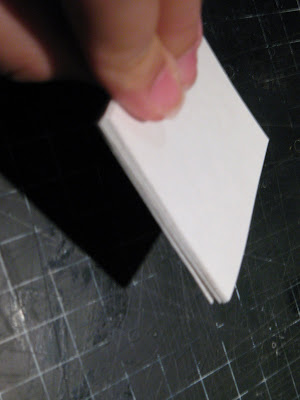
 and glue them together using a gluestick. You could use another type of adhesive if you like, but I'd caution you to be sure that it goes completely edge to edge, because if you don't, your book will not be as sturdy.

Anyhow, make sure that the folded edges on the spine are all lined up evenly. It is more important that the spine be even than any other part of the book. Trust me on this one!
 Make sure none of your pages are stuck together. Let them dry for a few minutes to be safe.


 Next I measured three inches from the edge of the spine, scored it, and folded the ends in to make my flaps.


Now here's the part where I'm an idiot and forgot to take pictures!
Center the pages on the spine, holding them together so that they are all at a right angle to the table, pointing at the ceiling. Open up just the first, blank page, and lay it flat on the table. Now fold the flap OVER that blank page. This will hold it in place. Do the same thing for the back cover.
Close the cover, and punch small holes 1/4" from the edge, being sure to make them centered. thread the ends of the ribbon through.
 I put a metal Making Memories frame with my title and date on the cover, but you could punch a window like in the last book I posted. It's totally up to you. Again, this book was made with scraps I had laying around and a single sheet of photo paper. It took maybe an hour to put it together. Honestly, laying out the photos and captions took longer!
Labels: how-to, photos, scrapbooking


1 Comments:
Wow, look at you miss thang! Not only is the book adorable but you took the time to post step by steps WITH pictures! Dude I get tired just reading your blog, I really don't know where all this energy comes from. Then again, your not a cripple like myself and that could have something to do with. Haha.
P.S. Do you have a hard time reaching over that belly? I'm guessing you have to sit pretty far back from the table...bwahahaha!
Post a Comment
Subscribe to Post Comments [Atom]
<< Home